One of the things I treasure about podcasts, other than listening, performing, and producing them, is the tremendous community of amazing people surrounding the medium. I’ve cultivated great friendships with individuals who were complete strangers just a few short years ago. I’ve heard from others that they too share similar experiences. It’s been highly educational and great fun to jump in with others, exchanging ideas, tips, and tricks of the trade. I’m forever grateful.
I’ve been podcasting for a few years now. Like anything new where you throw yourself into the fire and try to figure things out, you make mistakes along the way. As a result of making mistakes, you take stock of your experiences and use them as a basis to improve yourself.
When I first started podcasting, I allowed myself a modest budget. I was very interested in the medium itself, but I wasn’t clear on where things would go and if I would be willing to expand beyond just being a guest on shows that weren’t my own.
In the beginning, I made numerous appearances as a guest on other people’s podcasts. I got a taste of what it was like, and after about a year, I became a permanent co-host on a show called The Impromptu. Being a musician and having some experience in recording studios, talking in front of a microphone was not something I was unfamiliar with. There wasn’t any sort of trepidation on my part with hearing my own voice or conversing with strangers. Though let’s face it, no one is 100% satisfied with the sound of their own voice. There were quirks with my own speech patterns that frustrated me. I endeavoured to better myself.
There’s only one way that I know of that greatly helped improve my speech. I can only speak to what worked for me, but I strongly encourage that anyone wanting to get better at talking in front of a microphone should consider what I’m about to tell you. Any time I would record a show, whether I was a guest and had little to say, or when I was on one of my own shows, I always listened to my own recordings. This is going to make some of you uncomfortable, especially if you’re not confident with the timbre of your own voice. You need to power through the uncomfortable stage. Listening to myself enabled me to identify common annoying vocal habits such as excessive: ums, uhhs, lip smacks, awkward long pauses, and repetitive phrases. These are things that one can correct in post production, but why create more work for yourself in editing? Why not address the problem at the source?
Change rarely happens overnight, especially when you have spent years unknowingly formulating bad habits. After about a year of podcasting on a weekly basis and listening to my own voice, I can proudly say that I’ve made excellent progress in eliminating a large majority of my annoying speech patterns. I’m not perfect, but I don’t know anyone that is. If you have a reasonably pleasant sounding voice, you can nurture it with hard work and perseverance. You can take your voice from merely okay to good, if not great.
At the beginning of my foray into podcasting, I decided to join a company called FeedPress, which makes an analytics and podcasting service for bloggers and podcasters. Going all-in on podcasts helped me learn a lot more about the medium, from what it means to create and produce shows, to what kinds of tools and services podcasters find essential and useful.
All right, let’s move on to some nerdy things.
Gear
Perhaps you follow me on Twitter. If so, you likely know that I tend to tweet every now and again about different hardware that I’m testing. I’ve upgraded my podcasting setup numerous times over the last two years, and I haven’t been afraid to fiddle with: microphones, interfaces, mixers, pre-amps, and outboard dynamic processors. Over the last six months in particular, I’ve torn down and rebuilt everything more times than I would like to admit.
My beginner setup
Avoid blindly purchasing hardware without research. I conducted research by looking at what other podcasters were using and scoured YouTube and Amazon for additional inspiration. The first microphone I selected was a Blue Yeti condenser–an incredibly popular choice for beginners because of its decent sound and no fuss USB setup. This was a trusted microphone for some time, but I knew I could do better. The biggest drawback was that it tended to pick up too much ambient room noise–not a characteristic you want to include in an audio podcast.
My intermediate setup
There are higher end USB microphones available, but in the spirit of planning for robustness, I opted for an XLR microphone and interface. If you don’t know what an interface is, put simply, it’s a piece of hardware that converts analog audio signals into digital ones that your computer can understand. Interfaces typically come in USB 2.0/3.0, Firewire, or Thunderbolt connectivity. Cheaper consumer grade USB interfaces typically do not require external power supplies or even drivers. In my particular setup, I went with a [Shure PG42][PG42] and Focusrite 2i2. The PG42 and 2i2 ended up costing me $400, which clearly is a lot more money than if you were to buy a USB Yeti. With respect to quality, there was a huge difference. I distinctly recall my initial impressions being shocking. There was less background noise (not as much as I would have preferred) and my voice sounded noticeably more professional.
In hindsight, had I spent more time researching and considering microphones, I would not have purchased a condenser microphone. There’s absolutely nothing inherently wrong with condensers, it’s just that they tend to pick up more ambient room noise. Ambient sound is sometimes a sought after characteristic, especially if you’re trying to record an instrument such as: electric, acoustic, or bass guitars. Not even six months passed when I decided to sell all of my hardware again and upgrade. That leads me to my present day setup.
My advanced setup
The next logical step was a broadcast quality recording setup (or as near as I could reasonably get). It became clear that I would have to spend a considerable amount of money to pull this off. I started looking into what the pros were using. Often times it was something like the famous Shure SM7B, Heil PR 40, or Electro-Voice RE20. All three of the aforementioned microphones are commonly used by professional podcasters and terrestrial radio broadcasters. All of them start at around $450 and go upwards in cost. One thing that didn’t quite prepare me is just how gain hungry these microphones are. I heard anecdotes from colleagues that these were low output, gain hungry devices, but that didn’t quite set in until I purchased the SM7B.
The SM7B, according to Shure’s own website, states that 60db of clean gain is the recommended minimum in order to obtain an acceptable signal level. I began looking for an appropriate interface that would provide me with enough inputs and outputs, as well as acceptable pre-amps that were clean and could supply enough gain. I tried a PreSonus FireStudio Project, Steinberg RE44, and even an expensive MOTU 828 MK3—unsurprisingly, they weren’t acceptable. I then looked at a few Focusrite pre-amps, but most of them could only reach maximum levels of 60db of gain. More headroom was necessary. I played with a few mixers from Mackie and Allen & Heath–both respected manufacturers. I was starting to feel like there was no end in sight.
The next item on my list to try was a Cloudlifter; a tiny phantom powered device that sits between your mic and pre-amp. The Cloulifter provides an extra 25db of gain, which is welcome for the SM7B. I decided to build a podcast recording studio in a spare bedroom of my apartment. To accommodate an in-studio guest, I would need a couple of microphones and a two-channel pre-amp powerful enough to handle everything. Cloudlifter makes the CL-2, which is a two-channel XLR pre-amp. Though it would do the job, at $300, it was not inexpensive. Doing the math, the financials didn’t make sense. Adding a $300 device to a $400 interface started to look like a patch job to fix a problem that could be addressed with buying the right kind of pre-amp in the first place.
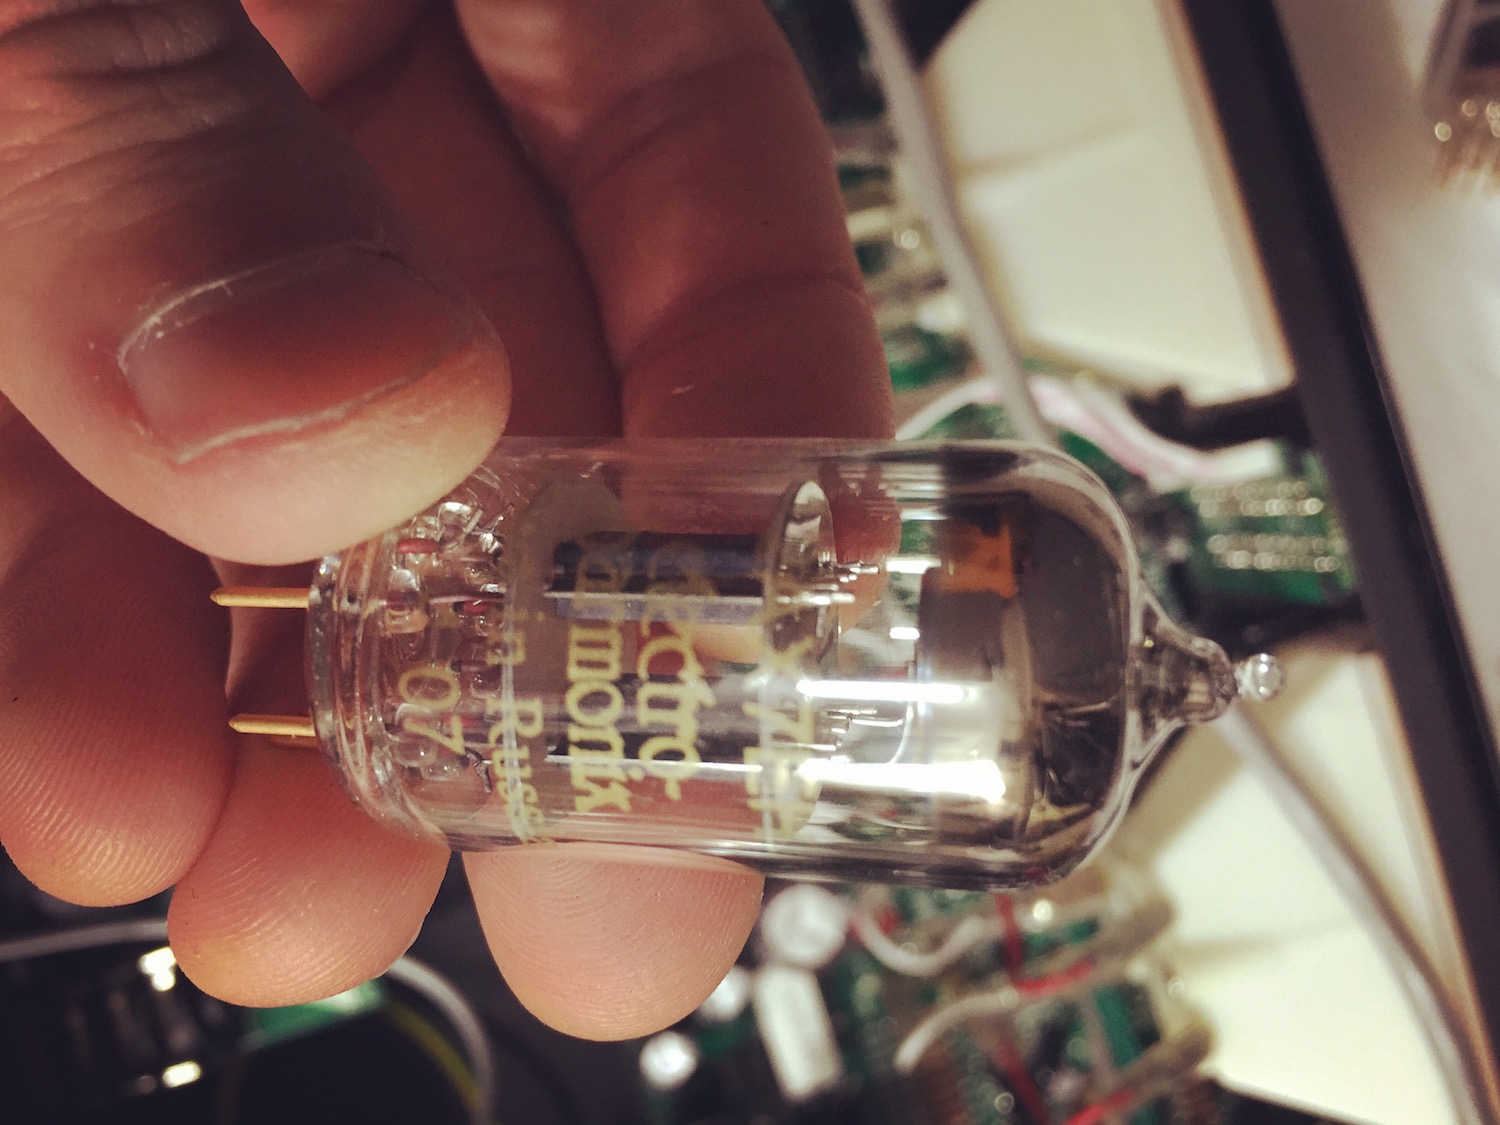
I consulted the pro audio department of my local music store for advice. They suggested that I get an external pre-amp that would provide enough headroom without needing an intermediary like the Cloudlifter. I’m running SM7B microphones into a two-channel Art Pro Audio MPA II. This is a tube-based pre-amp, however, its one unique quality is that it’s relatively affordable in comparison to most; it retails for $375 CAD. The MPA II is an excellent sounding tube amp that provides upwards of 70db of gain (plenty for any low output dynamic microphone). External pre-amps are a wonderful thing if you’re able to afford them. They last a long time since they’re built like tanks. They don’t require software either, so you never have to worry about them becoming obsolete. Tube amps have several enumerable advantages over solid state: warmer tones, less distortion at high gain, and upgrading the tubes is an inexpensive way to increase the quality. The MPA II came with unbranded Chinese tubes–they’ve now been replaced with Electro-Harmonix 12AX7s.
Professional pre-amps also provide additional flexibility in that they offer input impedance adjustments. Having an input impedance control that is sweepable from 150 ohms to 5k ohms allows you to load the microphones’ output transformer, with the result being a wide range of tonal variations. I always start by setting the impedance to match the microphone’s specifications, and gradually adjust in real-time until I hit the sweet spot.
I’m not a fan of unnecessarily complex audio interface that ship with buggy or infrequently updated drivers. What I run is a very inexpensive and driverless M-Audio M-Track II. I bypass the built-in pre-amps by running the two channels out of the MPA II into the M-Audio via an XLR to 1/4″ cable. These plug into the line-in jacks on the front. Since the audio interface sees them as line level signals, I don’t need to worry about the built-in pre-amps.
I have in-studio guests on a few shows. Guests would prefer controlling their own headphone mixes. From the 1/4″ main outs on the M-Audio, I run that into a y-cable that plugs into a four channel headphone amp. Headphone amps are essential so that each guest can set their respective comfortable levels.
Dynamic processors
What about dynamic processors? Plenty of people can and do run software plugins in their audio recording apps of choice. I’ve done this quite successfully for many years, but that only helps make sound better a signal that has already been recorded.
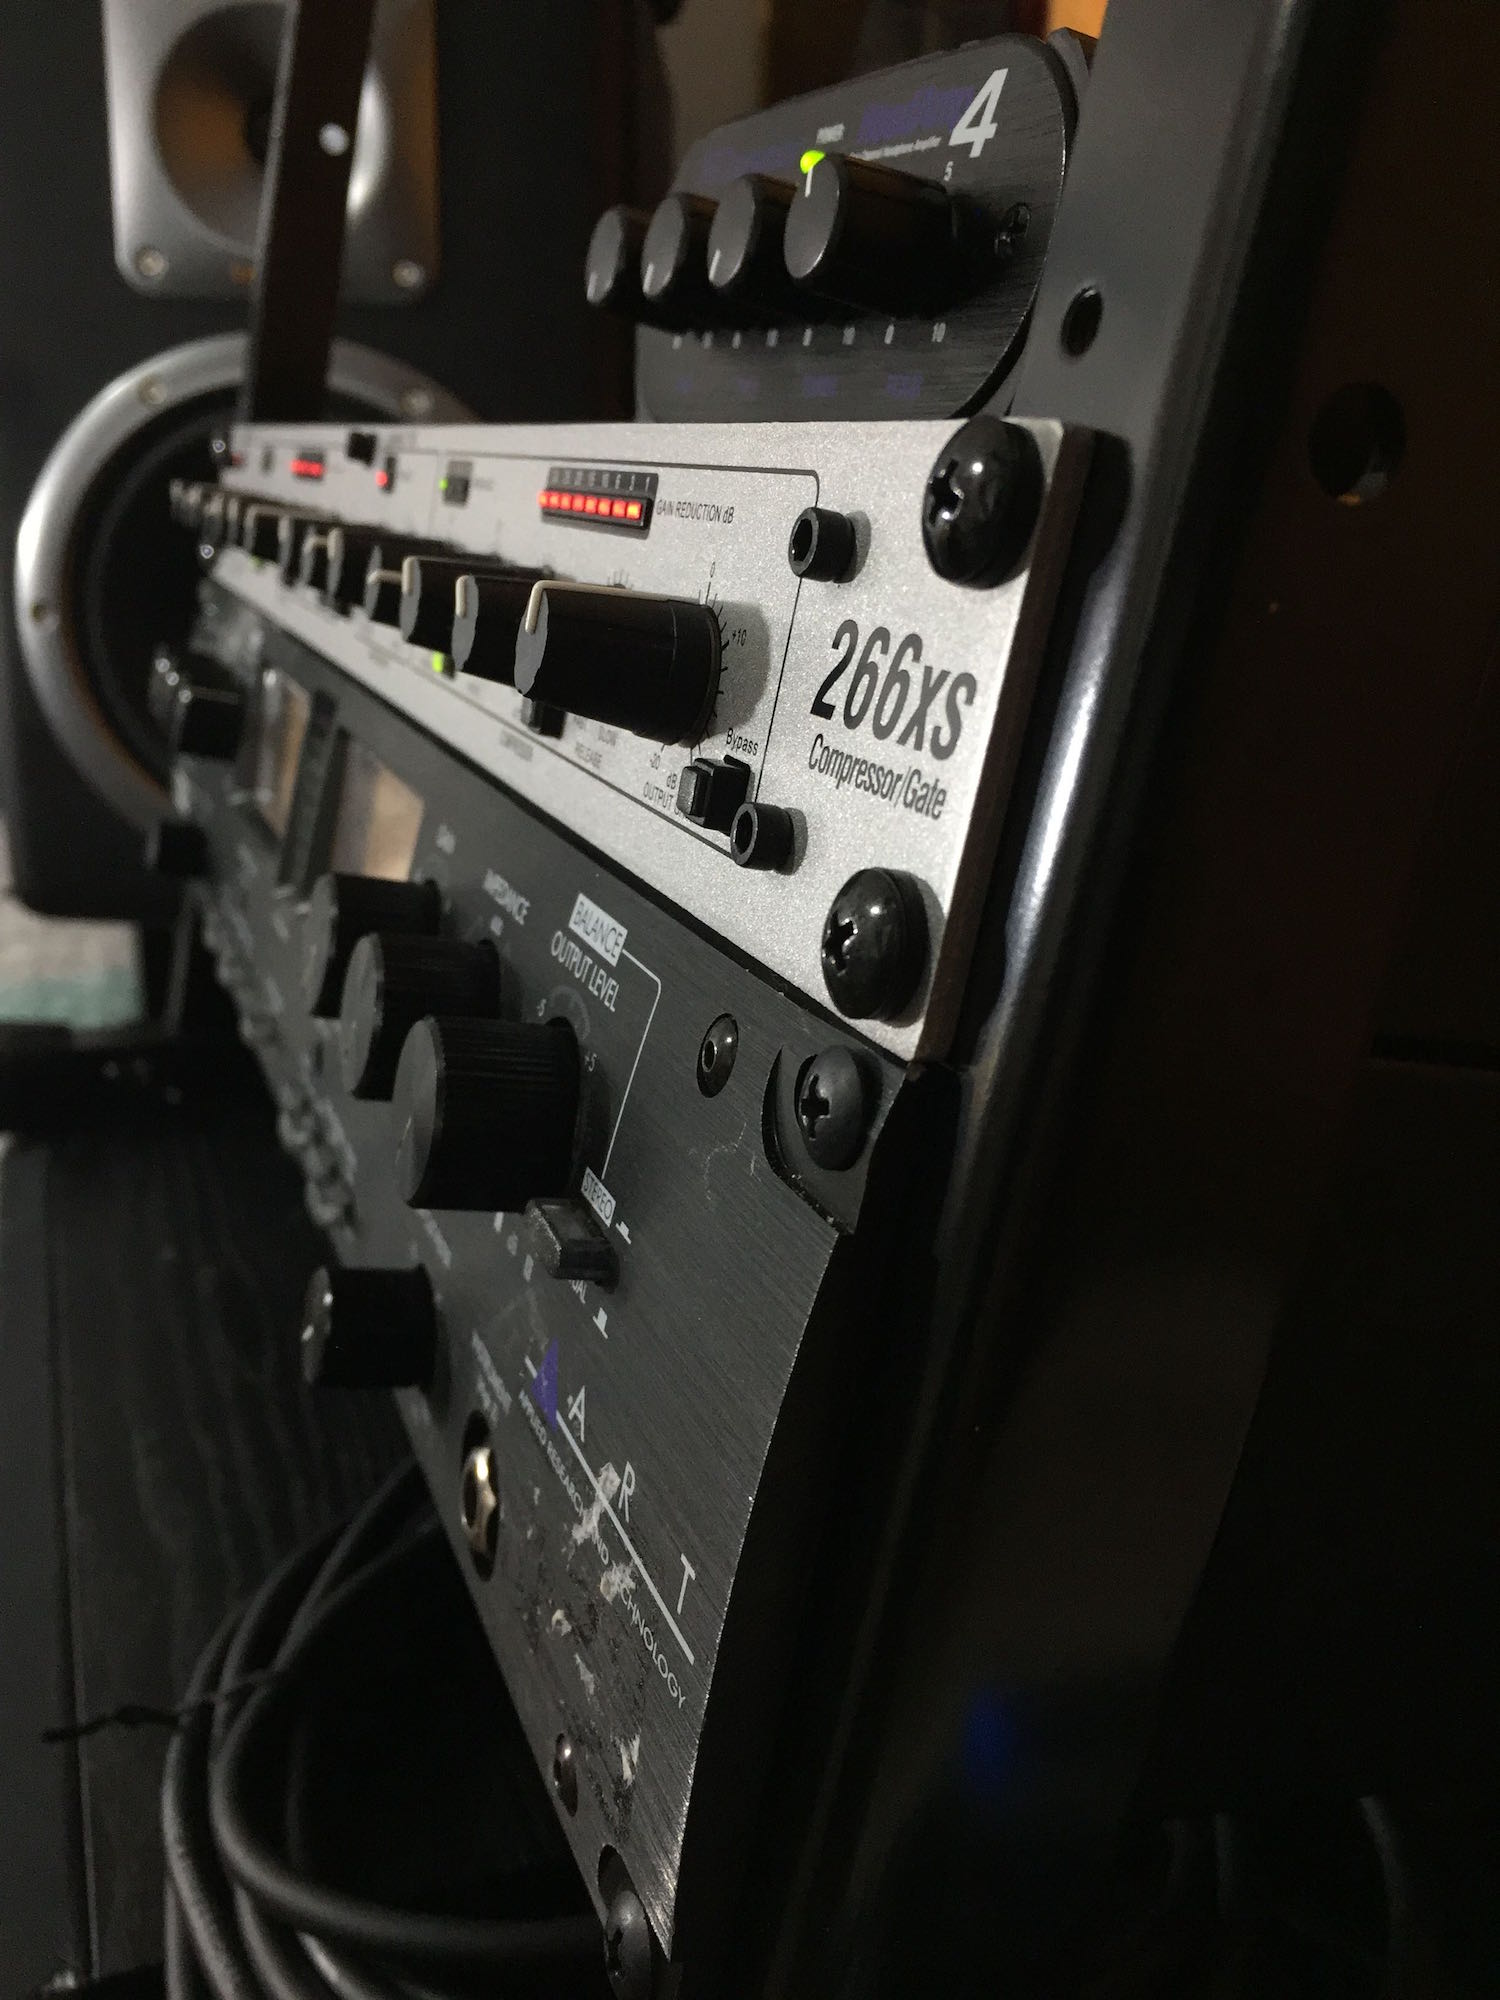
This week I added a dbx 266xs, an outboard two-channel compressor/gate. Compression is an excellent tool to uniformly even out excessively quiet or loud parts. The outputs of the MPA II run into the dbx so that the signals get treated in real-time, before getting to my MacBook Pro. This allows greater flexibility, especially when there are two people recording together in the same room. I can dial in just the right amount of compression and gating for the individual. This means I get an absolutely pristine level into my computer. The real-time metering on the front panel of the dbx can assist you greatly in adjusting things so that they are ideally configured for your voice.
Mix-minus
A Majority of the shows I do involve Skype and at least one or two guests. Ideally you want an isolated audio track for each guest in your DAW (Digital Audio Workstation). In order to do this, you need to setup what’s called a mix/minus. This involves additional complexity, hardware, and investment.
You can hire an analog or digital mixer to do your mix-minus. There are digital mixer solutions based in software, but for the purpose of this example, I’ll elucidate on what it entails with an analog configuration. One word of caution: I highly suggest spending more on a Firewire based mixer, such as the Mackie Onyx 820i. The problem with USB mixers is that they sum all channels into just two tracks. If you purchase a four channel USB mixer, thinking you will get four dedicated channels into your DAW, this won’t happen. What your audio recording software will see are just the first two inputs.
The ideal setup to accomplish this task would be a separate dedicated computer to run Skype for each guest. If you have two remote guests, then you need two separate computers. Although you will have to spend more money, you don’t need an expensive computer. In fact, even one of those $200 mini computers that run Android would work just fine.
When shopping for a mixer, keep in mind the maximum number of remote guests you would have on at any given time. If you have podcasts where you have two guests, then you’ll need to look for a mixer that has two auxiliary sends. Aux sends are used to send all of the audio back to the guest, sans their own voice (this is where the mix/minus is derived from).
Once you have dedicated Skype machines setup and a mixer, you run analog audio out from each computer into a line-in on the mixer. To send audio back to a guest, you would use an aux send to go into the line-in of that Skype computer. Keep in mind that for a guest to hear you everyone else, you need to make sure the levels are up on all of their respective channels. As for how Skype is configured, each Skype computer should have its own dedicated account, that way you’re getting just the individuals voice.
For a good video tutorial on how to set all of this up, I recommend checking out Ray Ortega’s walk through on YouTube.
Pay it forward
If you’re a podcaster and have a lot of experience in the field, to anyone requesting help or advice, pay it forward as much as you can. Most of us remember a time when we reached out to someone more experienced. These individuals mentored us. Often the ones doing the mentoring also had similar experiences when first starting out. This can be applied to a breadth of different skills, be it podcasting or otherwise.
Podcasters ranging from intermediate to professional have been producing both free and paid content to help newcomers. By sharing what you and I have learned, through trial and error, perhaps we can aid others in not making the same mistakes. We’ll all be better off for it.